BEST RECIPE For Pineapple Bliss Bars
Have you ever tasted a dessert that transports you straight to a tropical paradise with just one bite? That perfect balance of tangy sweetness and buttery crust that makes your taste buds dance with joy? If not, you’re about to discover your new favorite treat with these incredible Pineapple Bliss Bars.
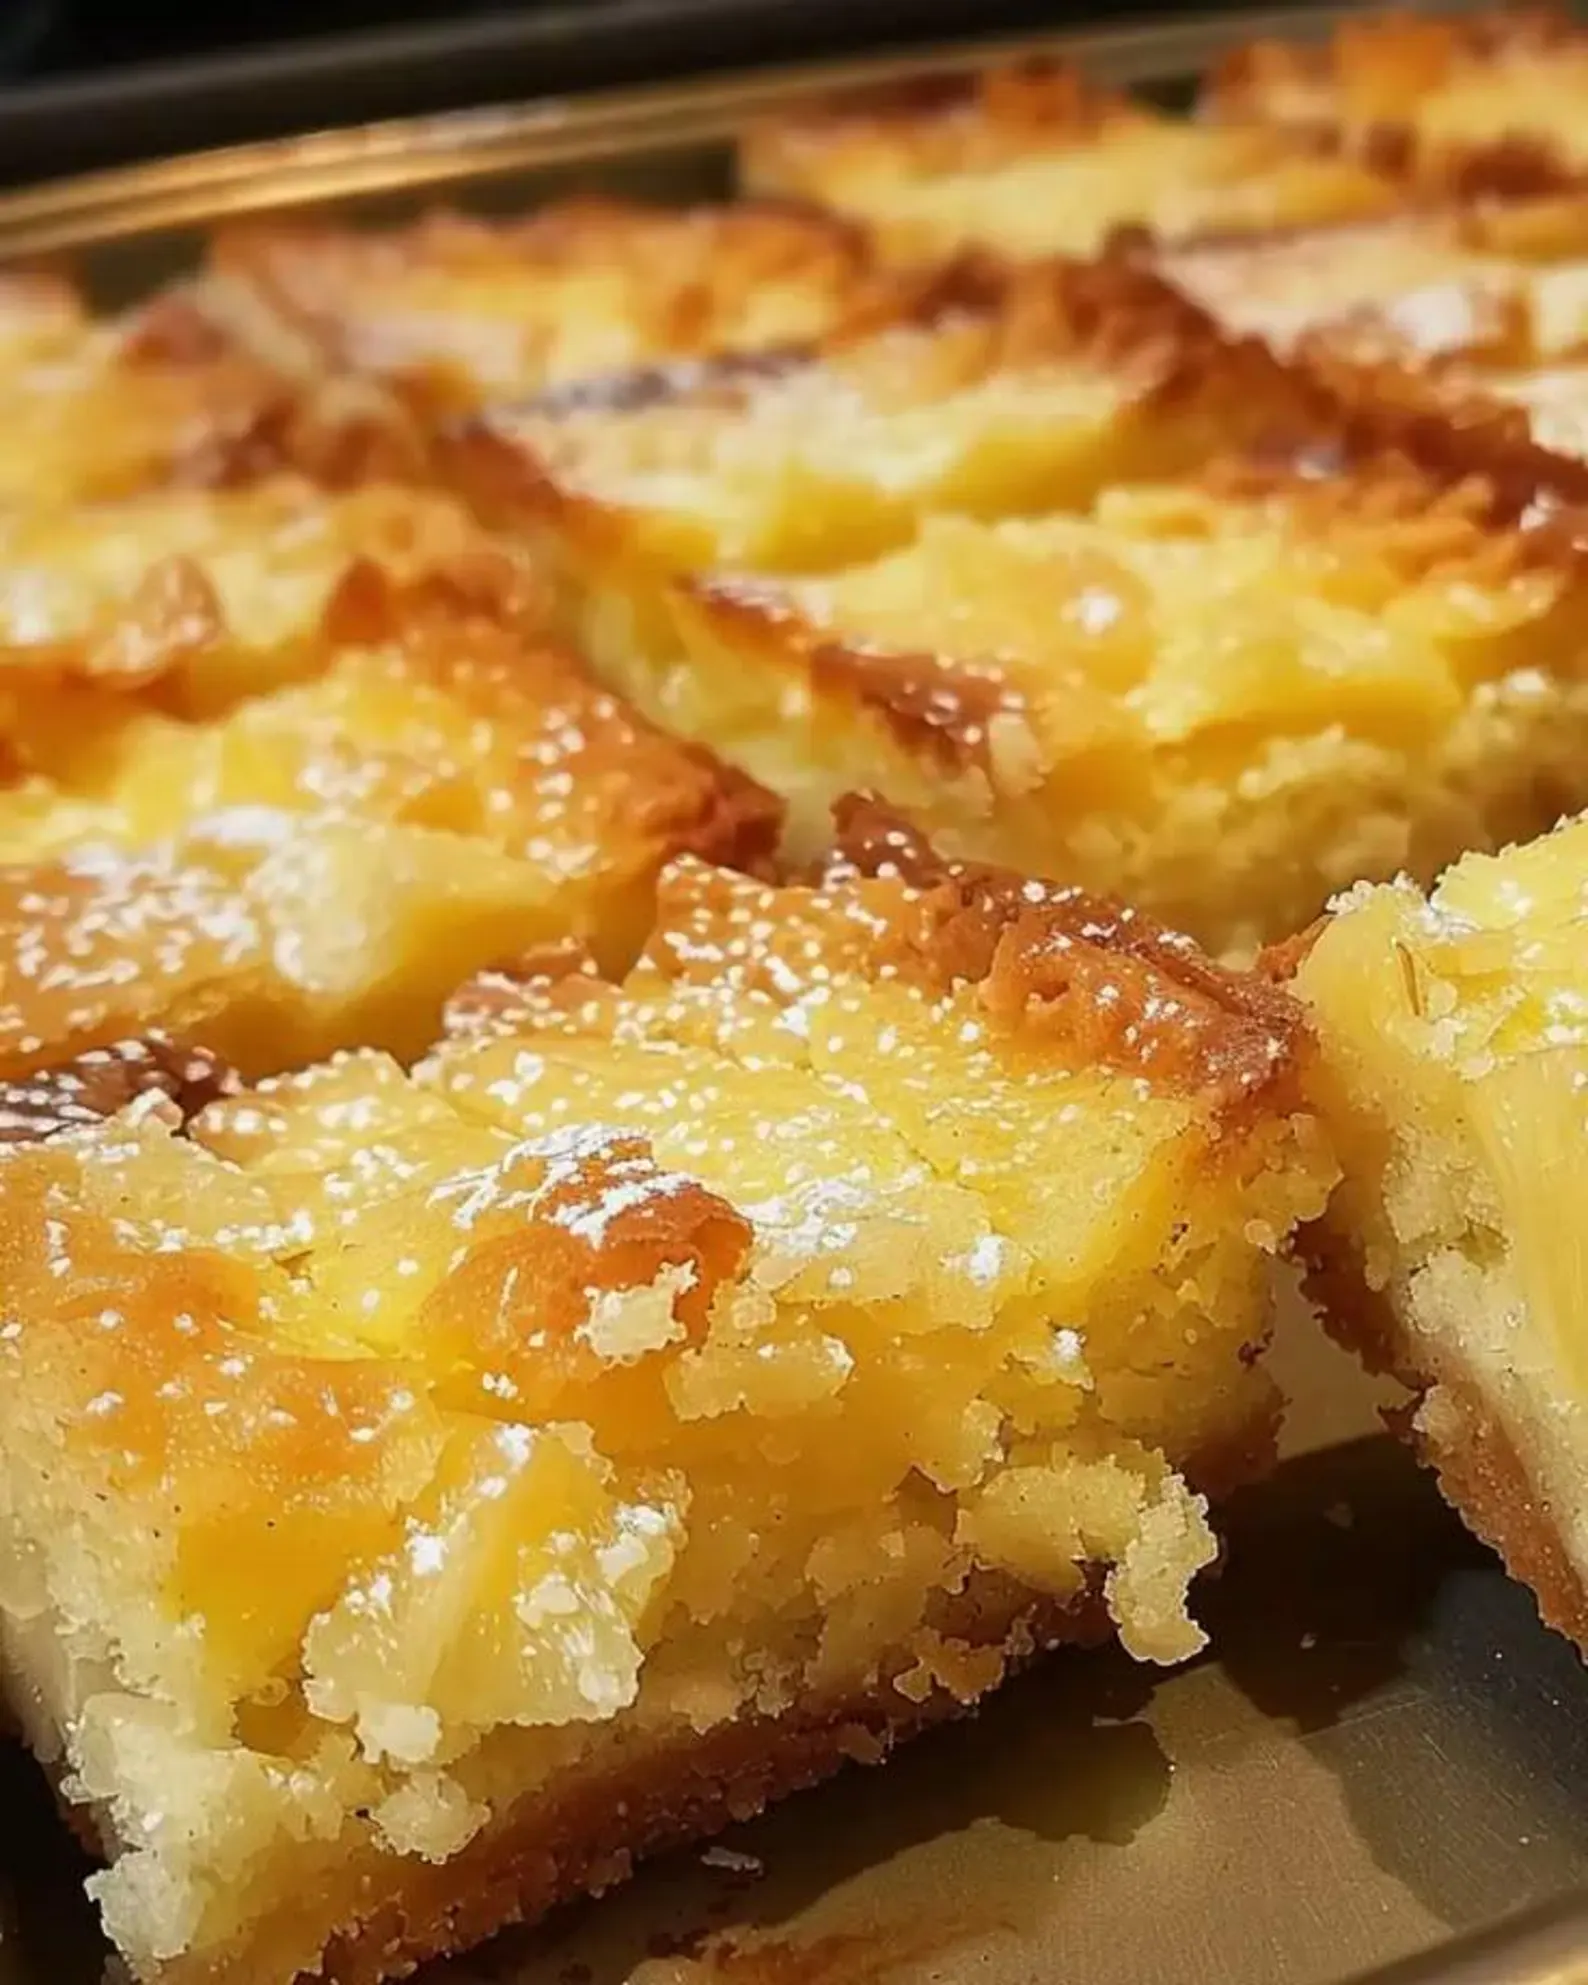
These delightful squares combine the tropical sweetness of pineapple with a buttery shortbread base and a coconut crumble topping. The RECIPE For Pineapple Bliss Bars is surprisingly simple yet delivers a sophisticated flavor profile that will impress family and friends alike.
Whether you’re hosting a summer gathering, need a potluck dessert, or simply crave a taste of the tropics, these bars are the perfect solution. Let’s dive into how to create these heavenly treats in your own kitchen!
Ingredients List
Gather these ingredients to create the perfect Pineapple Bliss Bars. Each component plays a crucial role in achieving that perfect balance of flavors and textures.
For the Shortbread Base:
- 2 cups all-purpose flour (substitute with 1:1 gluten-free flour blend if needed)
- 1/2 cup granulated sugar
- 1/4 teaspoon salt
- 1 cup (2 sticks) unsalted butter, cold and cubed
- 1 teaspoon vanilla extract
For the Pineapple Filling:
- 3 cups fresh pineapple, finely diced (can substitute with canned pineapple tidbits, well-drained)
- 1/3 cup granulated sugar (adjust according to pineapple sweetness)
- 3 tablespoons cornstarch
- 2 tablespoons fresh lemon juice
- 1 teaspoon vanilla extract
- 1/4 teaspoon ground ginger (optional but recommended)
For the Coconut Crumble Topping:
- 1 cup all-purpose flour
- 1/2 cup brown sugar, packed
- 1/2 cup shredded coconut (sweetened or unsweetened)
- 1/2 cup (1 stick) unsalted butter, cold and cubed
- 1/4 teaspoon salt
- 1/2 teaspoon ground cinnamon
Timing
Preparing these tropical delights requires some patience, but the results are well worth it!
Preparation time: 25 minutes (15 minutes if using canned pineapple)
Baking time: 45-50 minutes
Cooling time: 2-3 hours (for best cutting results)
Total time: Approximately 3.5 hours
While this might seem lengthy, the active cooking time is only about 30 minutes—30% less than many comparable layered dessert bars. Most of the time is hands-off cooling, during which you can prepare other dishes or simply relax!
Step-by-Step Instructions
Follow these detailed steps to create perfect Pineapple Bliss Bars every time. Each stage builds toward that perfect combination of buttery crust, tangy filling, and crisp topping.
Step 1: Prepare Your Baking Dish
Preheat your oven to 350°F (175°C). Line a 9×13 inch baking dish with parchment paper, leaving some overhang on the sides for easy removal later. The parchment prevents sticking and makes cleanup a breeze. Pro tip: Lightly spray the pan before adding parchment to help it stay in place.
Step 2: Create the Shortbread Base
In a large bowl, whisk together the flour, sugar, and salt for the base. Add the cold cubed butter and vanilla extract. Using a pastry cutter or your fingertips, work the butter into the dry ingredients until the mixture resembles coarse crumbs. Avoid overworking the dough as this can make the shortbread tough rather than tender.
Step 3: Bake the Base
Press the shortbread mixture firmly and evenly into the prepared baking dish. Use the bottom of a measuring cup to create a smooth, even surface. Bake for 15-18 minutes until the edges just begin to turn golden. Remove from oven but keep the oven on for the final baking.
Step 4: Prepare the Pineapple Filling
While the base is baking, combine the diced pineapple, sugar, cornstarch, lemon juice, vanilla extract, and ground ginger in a medium saucepan. Cook over medium heat, stirring frequently, for about 5-7 minutes until the mixture thickens and becomes translucent. The cornstarch needs to reach a boiling point to achieve full thickening power.
Step 5: Make the Coconut Crumble Topping
In a medium bowl, combine the flour, brown sugar, shredded coconut, salt, and cinnamon for the topping. Add the cold cubed butter and use a pastry cutter or your fingers to work it in until the mixture forms crumbs of varying sizes. This texture variation creates the perfect crumbly topping with both tender and crisp elements.
Step 6: Assemble and Bake
Spread the pineapple filling evenly over the partially baked shortbread base. Sprinkle the coconut crumble topping over the filling, covering it completely. Gently press the topping down slightly to adhere to the filling. Bake for 25-30 minutes until the topping is golden brown and the filling is bubbling at the edges.
Step 7: Cool Completely
Allow the bars to cool completely in the pan on a wire rack for at least 2 hours, or ideally overnight in the refrigerator. This cooling period is crucial for the filling to set properly, making the bars easier to cut and serving them at the perfect consistency.
Step 8: Cut and Serve
Once completely cooled, use the parchment paper overhang to lift the entire dessert out of the pan. Place on a cutting board and use a sharp knife to cut into 24 bars (or your preferred size). Clean the knife between cuts for the neatest presentation.
Nutritional Information
Understanding the nutritional content helps you enjoy these treats mindfully. Each bar (based on a 24-bar yield) contains approximately:
Calories: 215 per bar
Total Fat: 12g (Saturated Fat: 7.5g)
Cholesterol: 30mg
Sodium: 65mg
Total Carbohydrates: 25g (Dietary Fiber: 1g, Sugars: 14g)
Protein: 2g
These bars contain vitamin C from the pineapple, providing about 8% of your daily recommended intake per serving. The manganese content from pineapple also supports bone health and metabolism.
Healthier Alternatives for the Recipe
Looking to make these bars more nutritious without sacrificing flavor? Try these smart substitutions:
Replace all-purpose flour with whole wheat pastry flour or almond flour (for the base) to increase fiber and nutrients. You can reduce the sugar by up to 25% without significantly affecting taste, especially if your pineapple is naturally sweet.
For a dairy-free version, substitute the butter with coconut oil (use 20% less than the butter amount). This enhances the tropical flavor profile while making the recipe suitable for those avoiding dairy.
Add 2 tablespoons of ground flaxseed to the crumble topping for an omega-3 boost. For a lower-sugar option, try using monk fruit sweetener or erythritol in place of granulated sugar (use a conversion chart as these alternatives have different sweetness levels).
Serving Suggestions
Elevate your Pineapple Bliss Bars with these creative serving ideas:
For an elegant dessert presentation, serve slightly warmed with a scoop of vanilla bean ice cream or coconut sorbet. The contrast between the warm bar and cold ice cream creates a delightful sensory experience.
Create a tropical dessert platter by pairing these bars with fresh fruit skewers featuring mango, kiwi, and additional fresh pineapple chunks. The fresh fruit complements the baked bars beautifully.
For brunch gatherings, cut into smaller, bite-sized squares and serve alongside a coconut-infused coffee or a tropical mimosa. The bars pair wonderfully with both coffee and champagne-based drinks.
Common Mistakes to Avoid
Sidestep these pitfalls to ensure your bars turn out perfectly every time:
- Undercooking the pineapple filling: The filling must reach a full boil to activate the cornstarch properly. Undercooked filling will result in runny bars that fall apart when cut.
- Using warm butter for the crust or topping: Cold butter creates those desirable pockets of flakiness. Warm butter will result in a dense, tough texture.
- Cutting the bars while still warm: This common mistake leads to messy, uneven squares. Patience pays off with clean, professional-looking cuts.
- Skipping the parchment paper: Without it, the bars will likely stick to the pan and break apart when removed.
- Not draining canned pineapple thoroughly: Excess liquid will make your filling too wet and prevent proper setting.
Storing Tips for the Recipe
Maximize freshness and enjoy your bars longer with these storage strategies:
At room temperature, store in an airtight container with parchment paper between layers for up to 2 days. For longer storage, refrigerate for up to 1 week. The bars actually develop deeper flavor after 24 hours of chilling.
These bars freeze beautifully! Wrap individual portions in plastic wrap, then place in a freezer-safe container or bag. They’ll keep for up to 3 months. Thaw overnight in the refrigerator for best texture.
For make-ahead convenience, prepare the shortbread base and crumble topping up to 3 days in advance. Store the base (unbaked) in the refrigerator and the crumble topping in a separate container until ready to assemble.
Conclusion
These Pineapple Bliss Bars offer the perfect balance of buttery shortbread, tangy-sweet pineapple filling, and coconut crumble topping. The combination creates a dessert that’s simultaneously sophisticated and comforting – ideal for everything from casual family gatherings to elegant dinner parties.
Have you tried making these tropical treats? We’d love to hear about your experience! Share your photos, variations, or questions in the comments below. And if you enjoyed this recipe, be sure to check out our other tropical-inspired desserts that bring sunshine to your table year-round!